Mk1 Golf GTi BBS Edition Restoration
Part 1
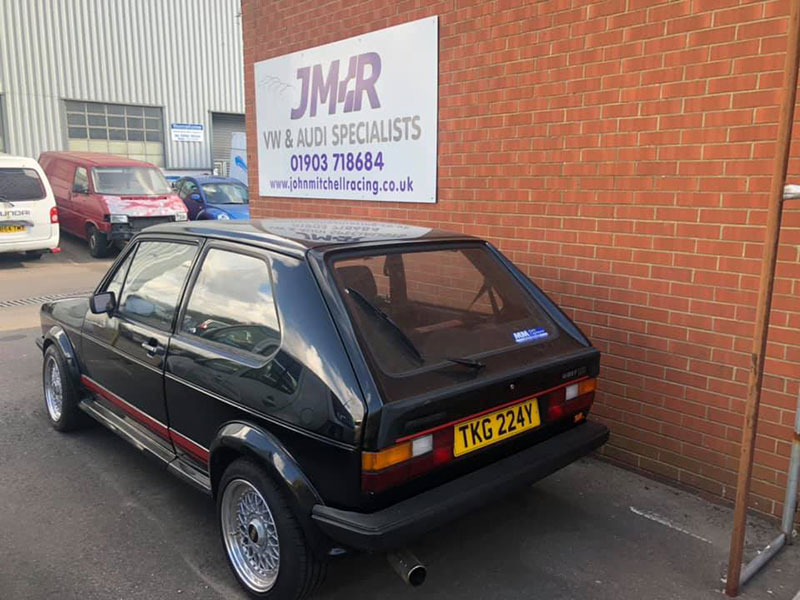
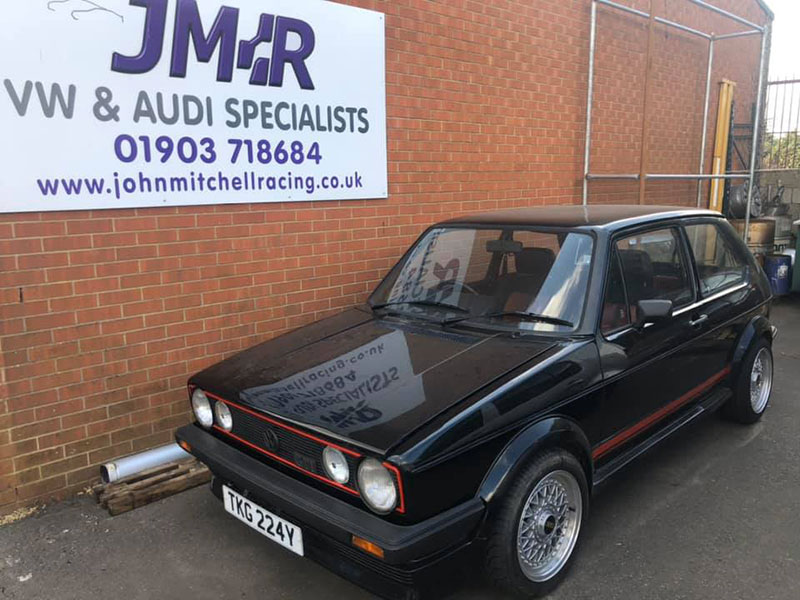
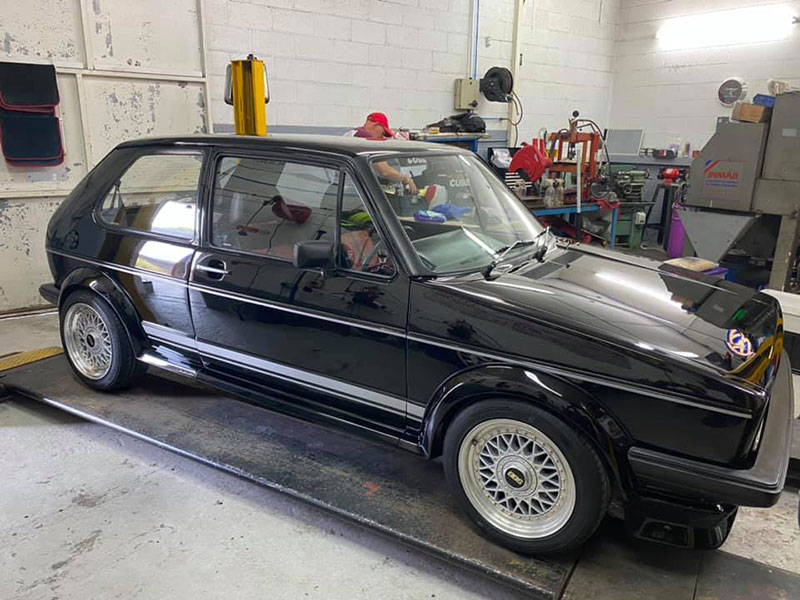
Another limited edition Volkswagen, recovered from very long term storage, some fourteen years and presented to us by its owner, asking what could be done to bring it back to former glory. However, our customer wanted to retain as much “patina” as possible, so as retain the look of it’s years, but revived sufficiently, to give it a refreshed lease if life.
It is sometimes easier to complete an outright restoration, but this GTi would take a little more thought and something of a challenge too, deciding what to keep, what to replace and to what level every component was to be addressed.
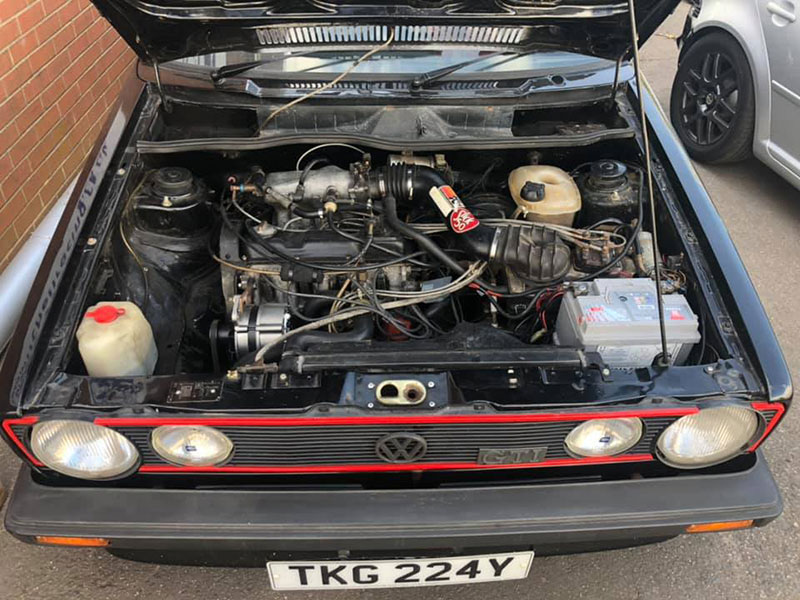
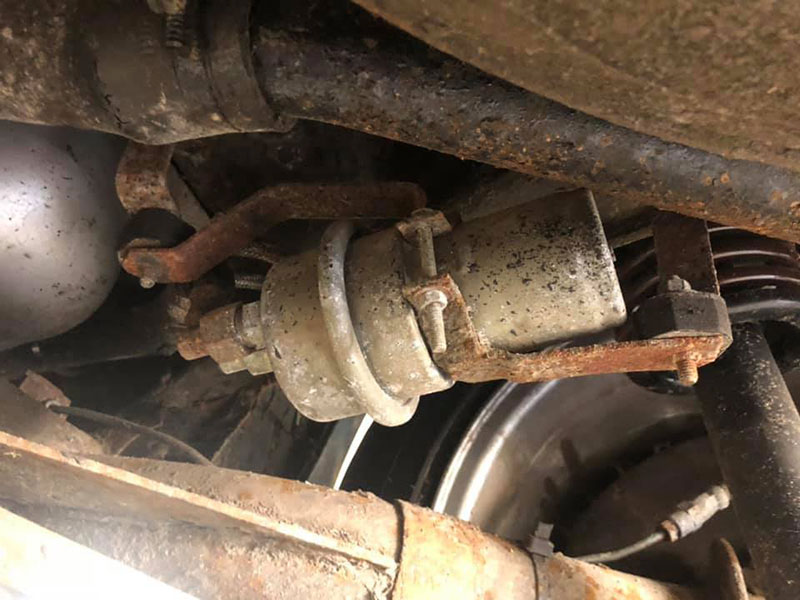
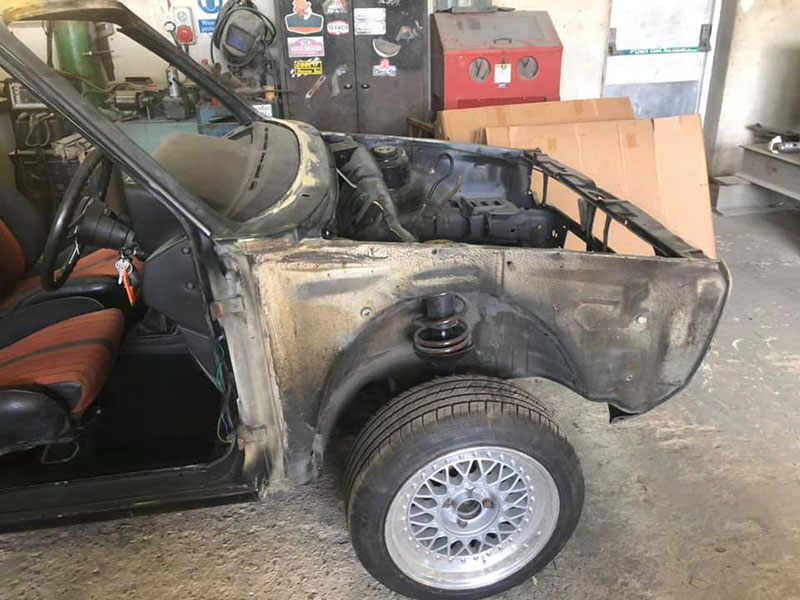
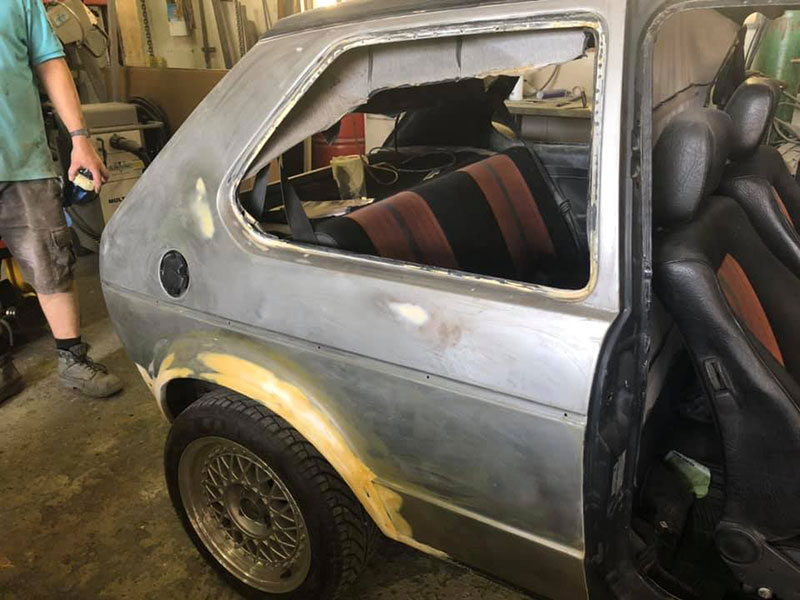
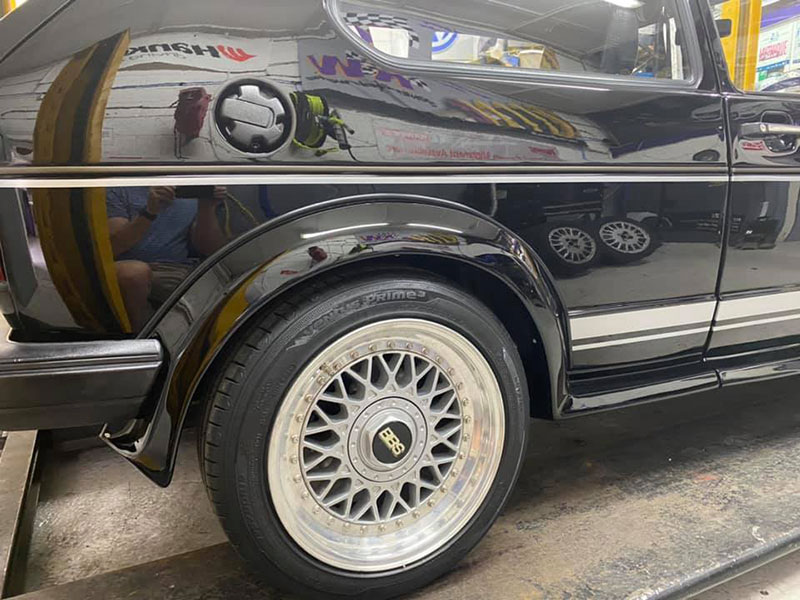
Some choices were made easy for us. The engine definitely required a complete rebuild, the suspension and braking system, were too in need of renewal and the paintwork was none too special, it having been clearly applied by unskilled hands. The bodywork was also going to require replacement panels and specialist fabricated sections welding in. The interior was original and a little faded, but generally in fair condition for age and miles, so for now, this was to stay. The BBS bodykit had been poorly fitted, post it’s previous re-paint, but we were glad to see the hallmark BBS 3 piece wheels were correct and in good order. The exhaust was a mix of OEM front and Jetex rear, all of which was subject to excessive corrosion, so this would again require renewal.
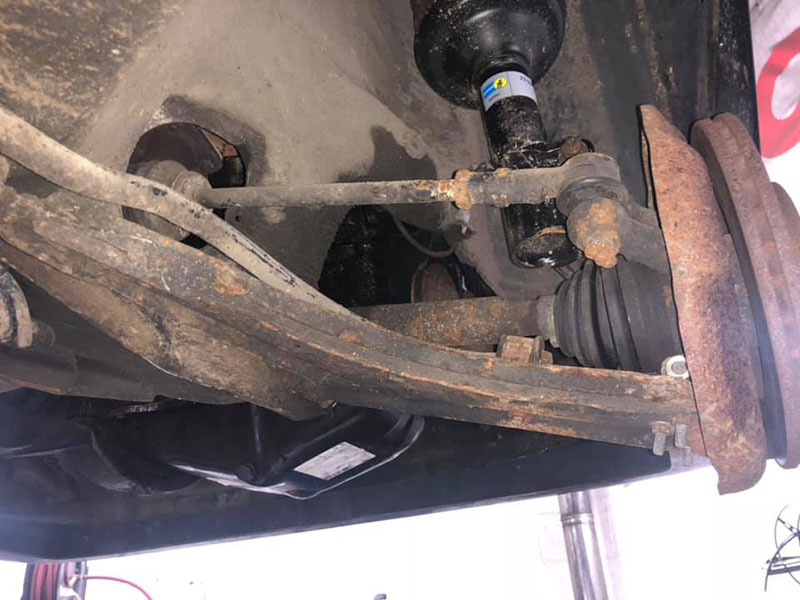
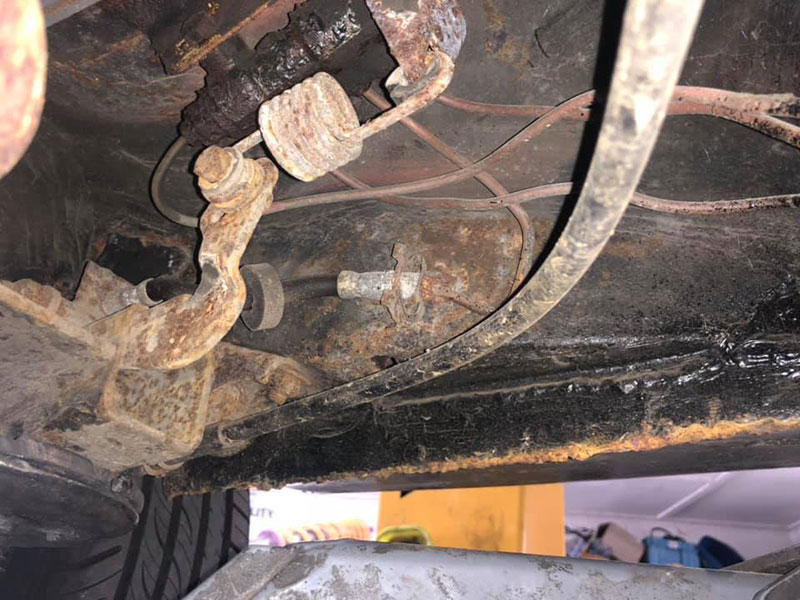
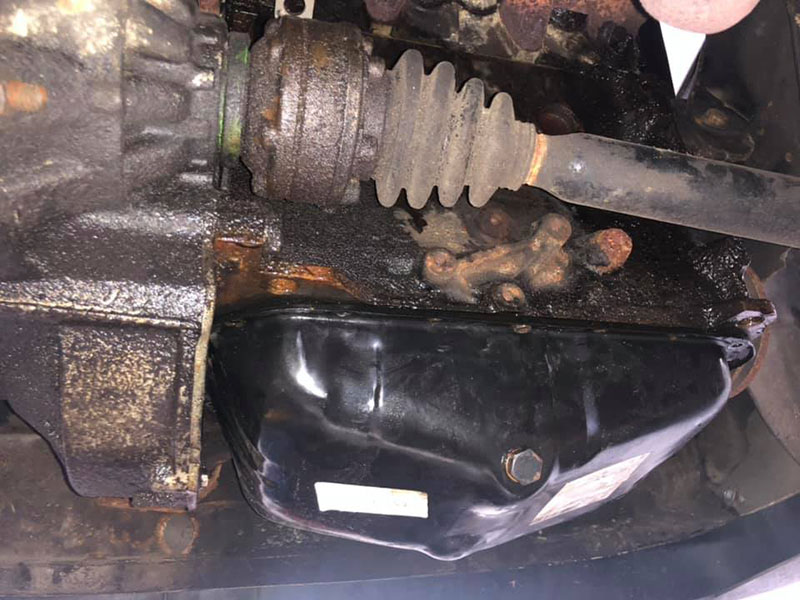
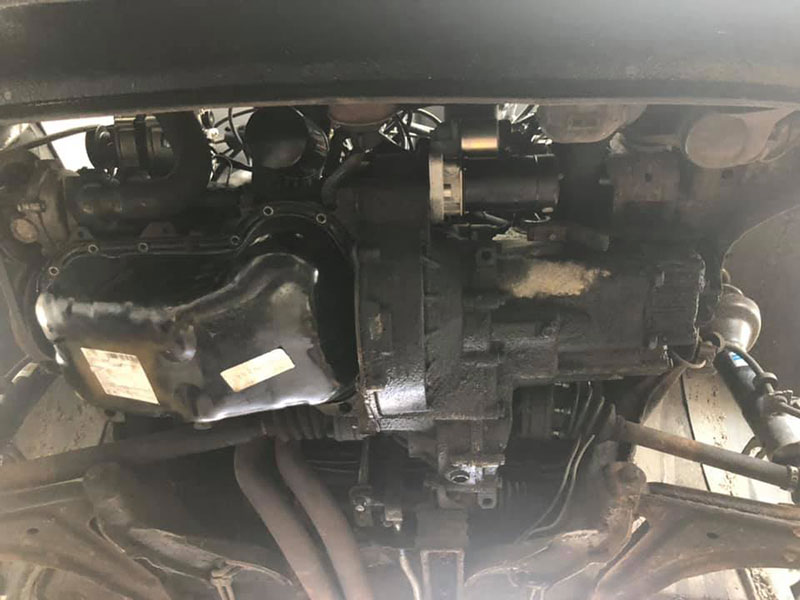
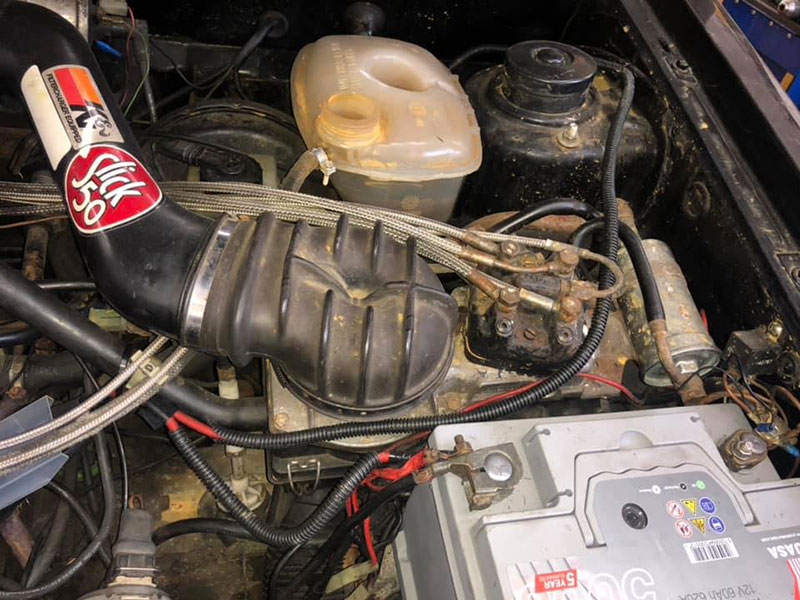
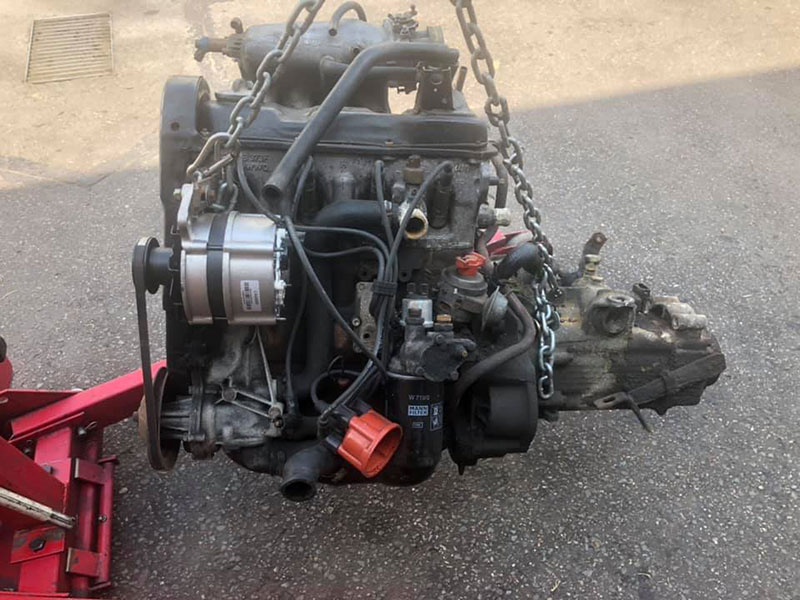
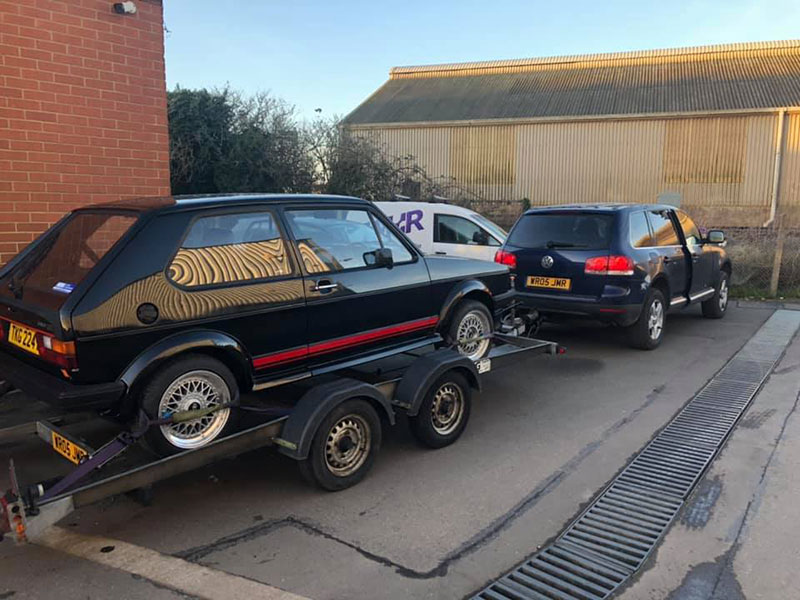
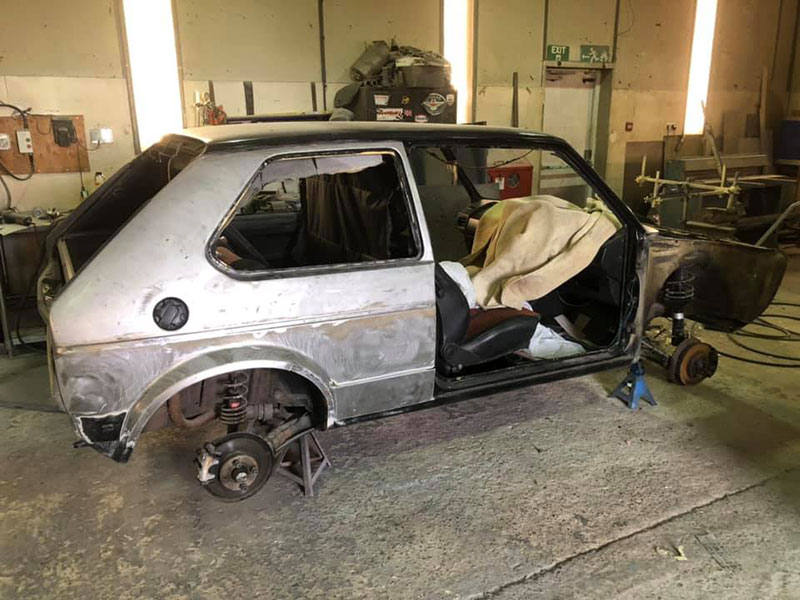
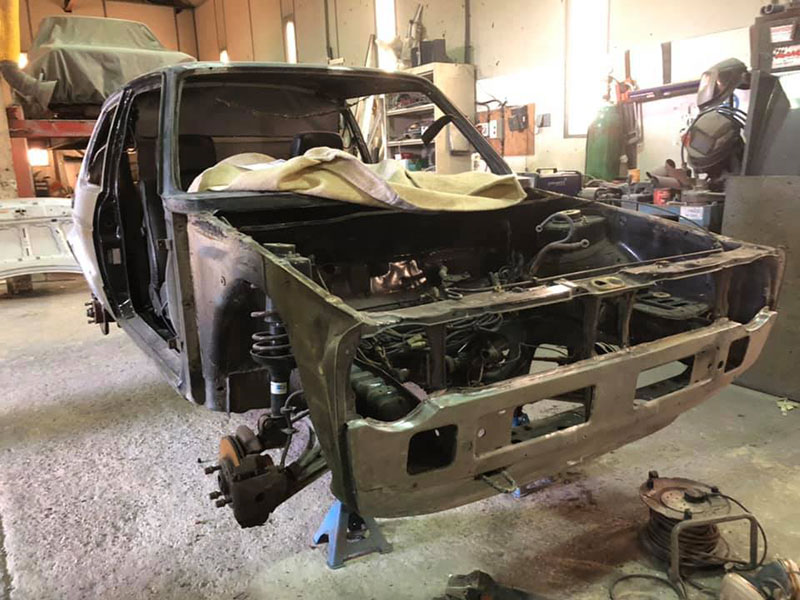
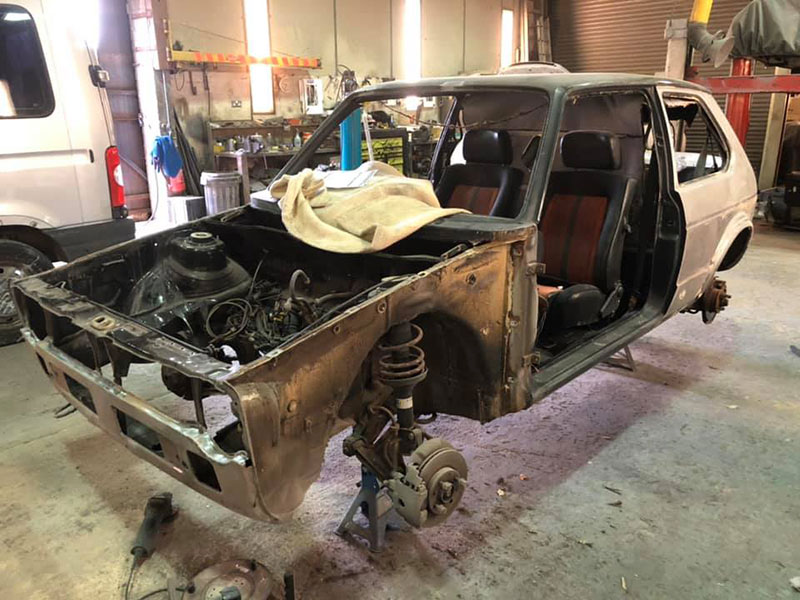
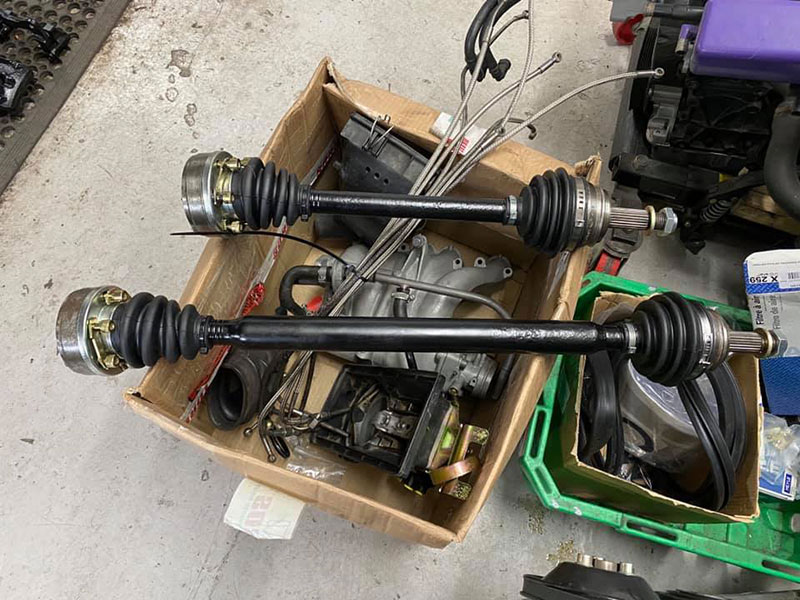
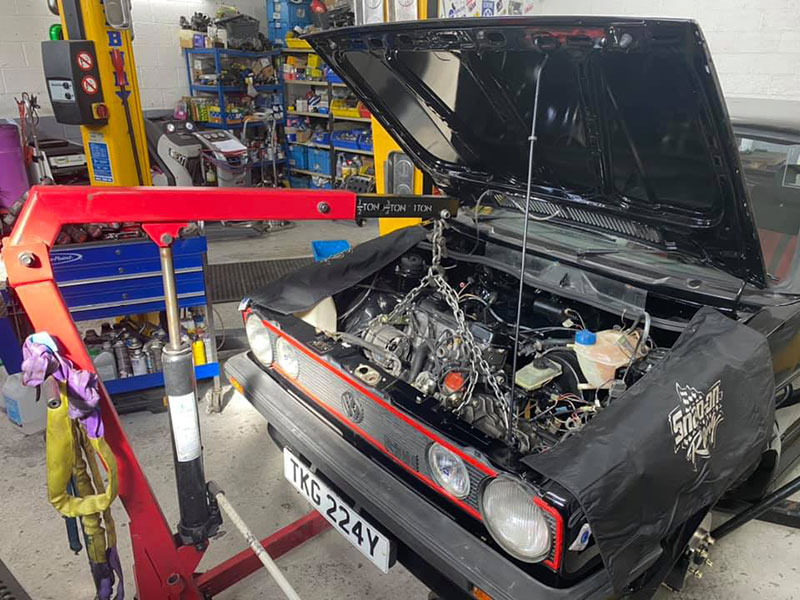
So the scene was set, discussions were had with the owner and a plan was set in action to bring back this rare limited edition. Works began with preparation of the GTi, to strip it down mechanically to a rolling shell, in readiness to be transported to our bodyshop, Everymans Garage. The engine and gearbox were removed, as too were the engine compartment components. The exhaust system was removed along with any other items like driveshafts, gear selector etc. Finally the rolling body was loaded onto our trailer and transported to the bodyshop. This was the first outing for our then, recently purchased Touareg and it performed it’s part perfectly.
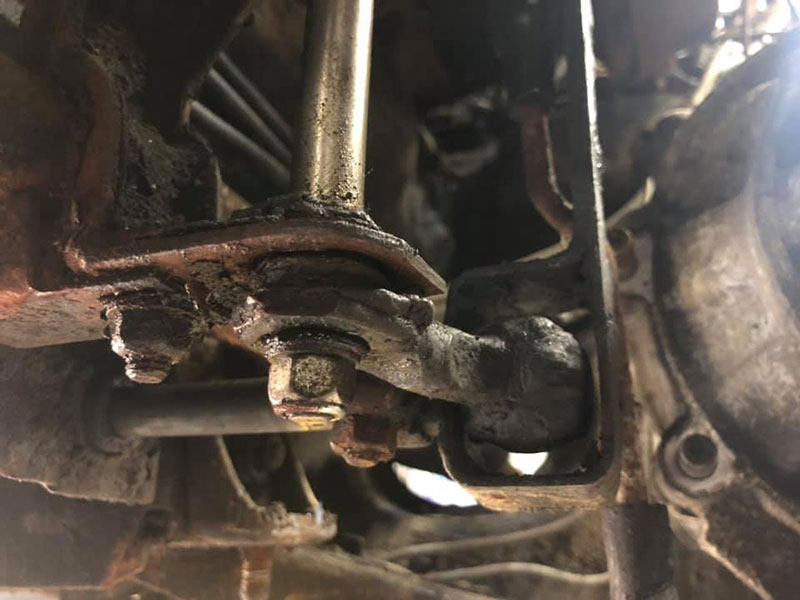
Take a look through the pictures, they tell the story of the passage of time and some very dubious “repairs”.
Part 2
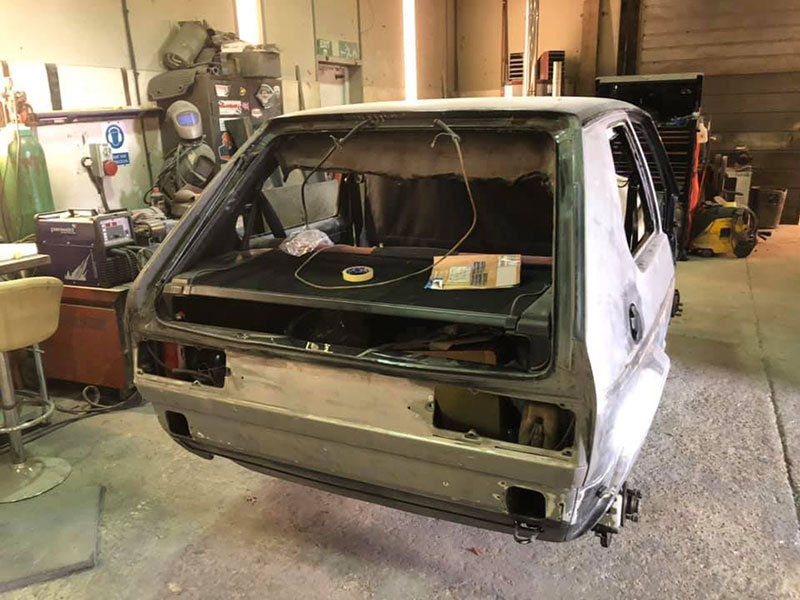
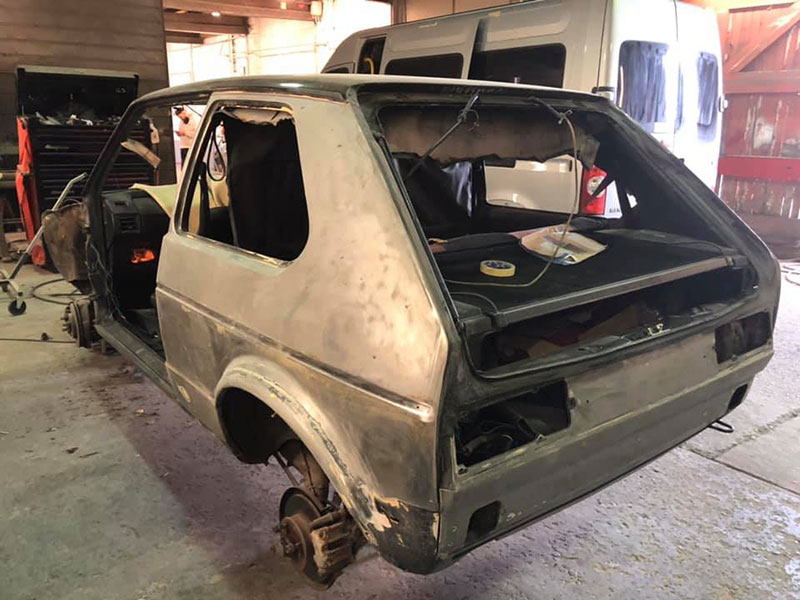
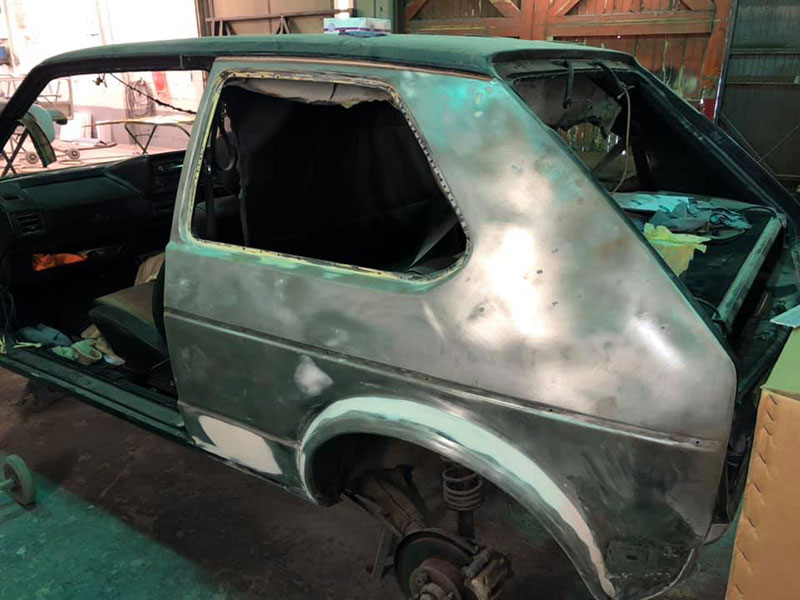
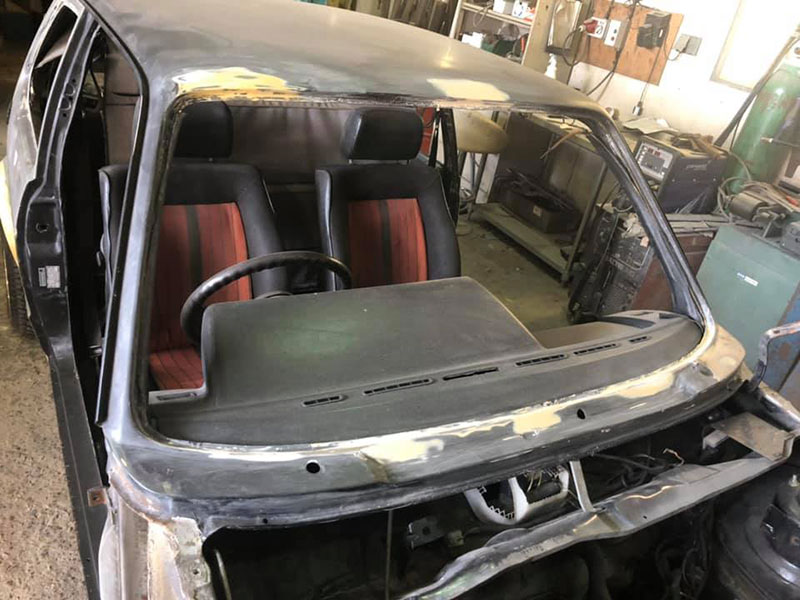
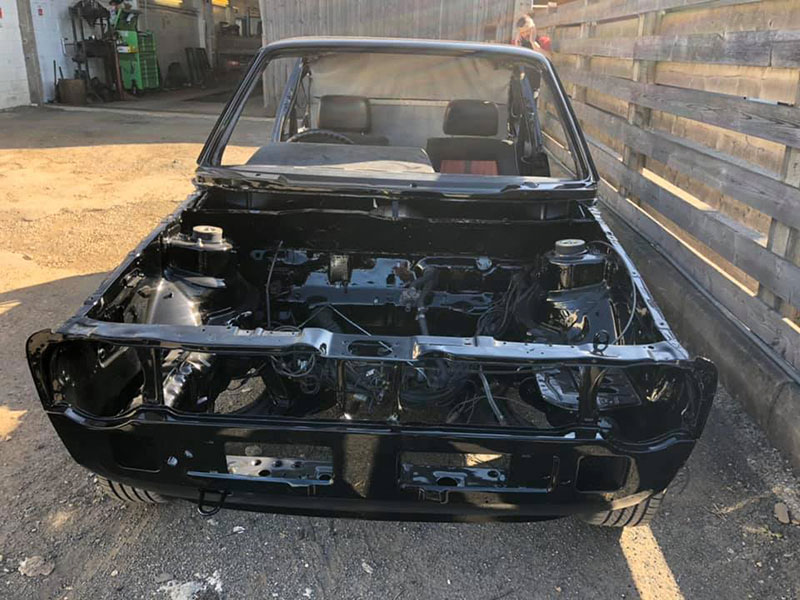
With all the exterior trim, glass, hinged body panels and front wings removed, Chris and his team at our bodyshop, Everyman’s Garage, set about the first phase of body prep. The paint was stripped away to reveal the underlying metal. In common with most cars of this age, this GTi has had a life and this could been read like a story, in the metal. Corrosion perforating the metal in all the typical locations, poor welding repairs, bottoms of the doors, lower sections of the front wings, lower section of the tailgate and an unsalvageable bonnet. The panels that were to be saved were repaired with a mix of custom and over the counter repair sections. Many of the panels had to be custom fabricated like the inner wheel arches etc, however, the front wings, bonnet and tailgate were replaced with new genuine parts. With the bodyshell now solid, the car was primed and painted back into the OEM black.
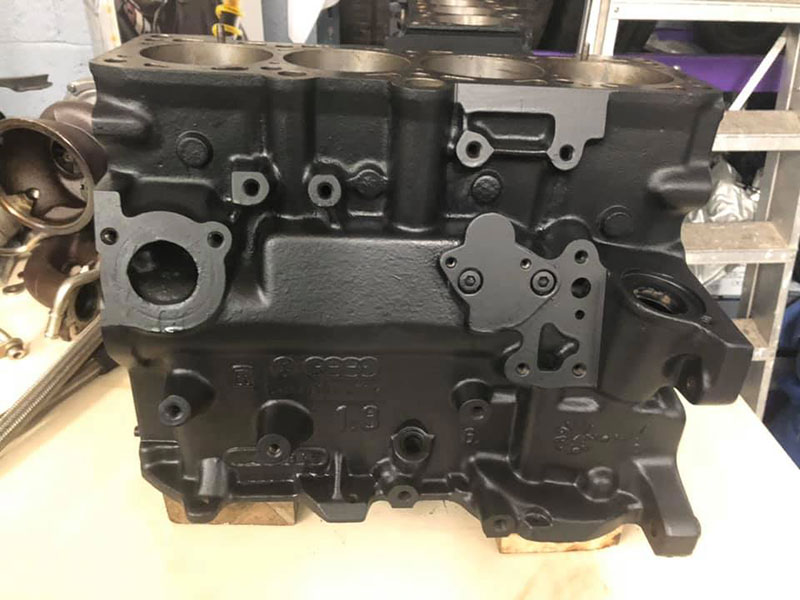
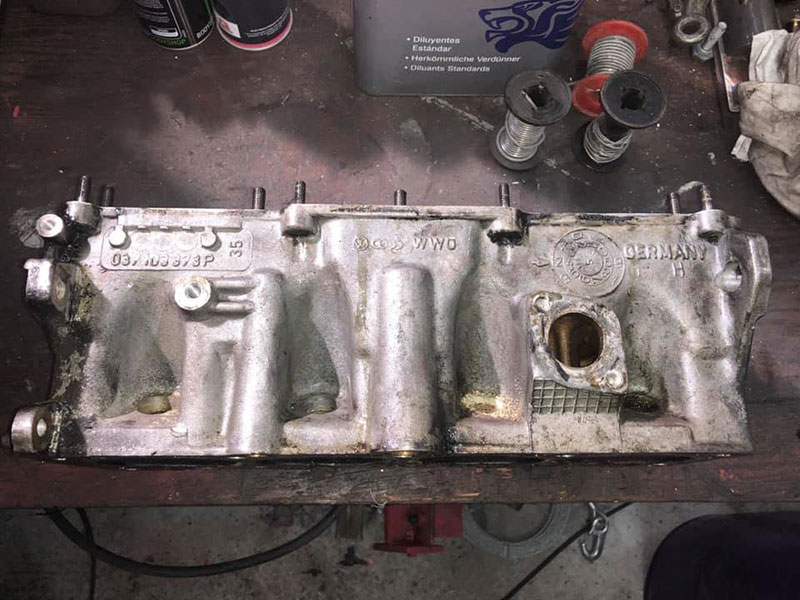
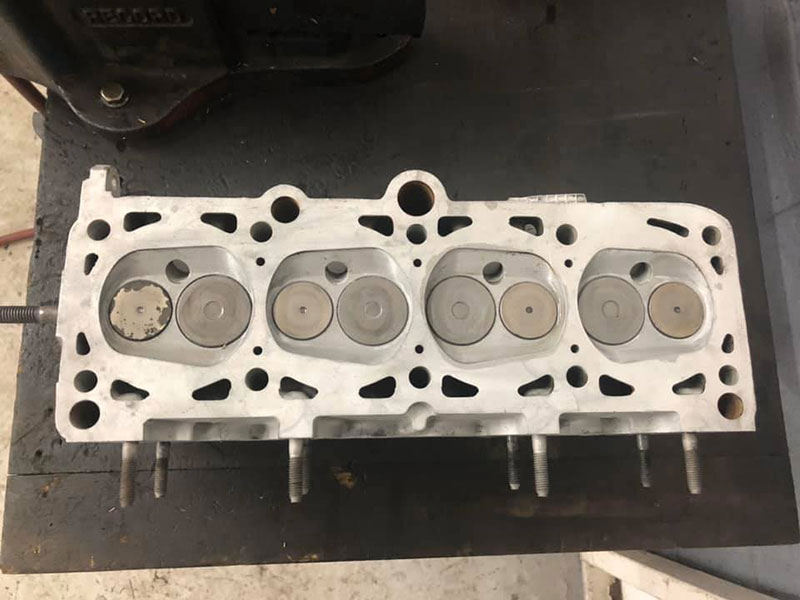
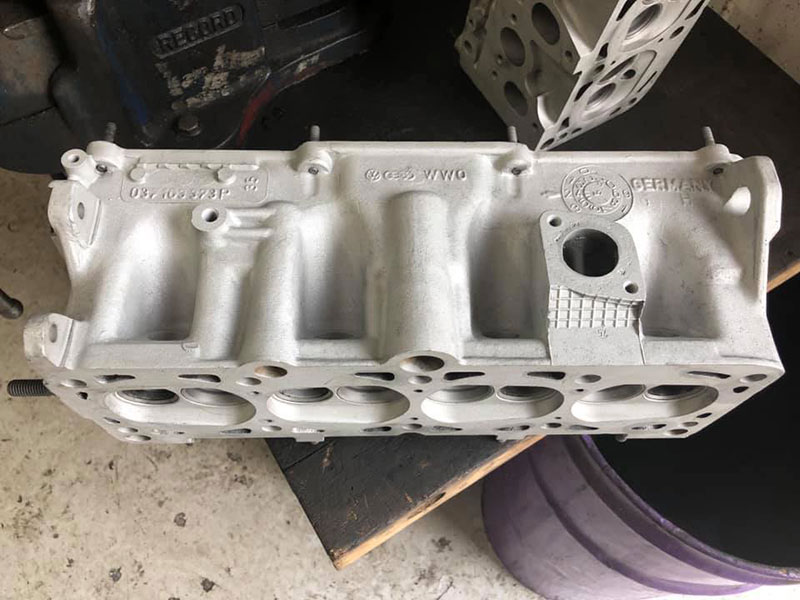
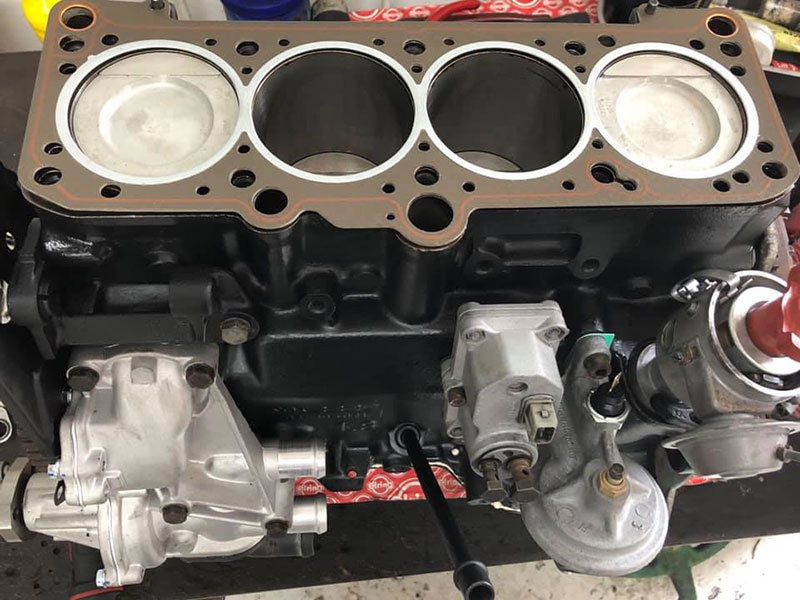
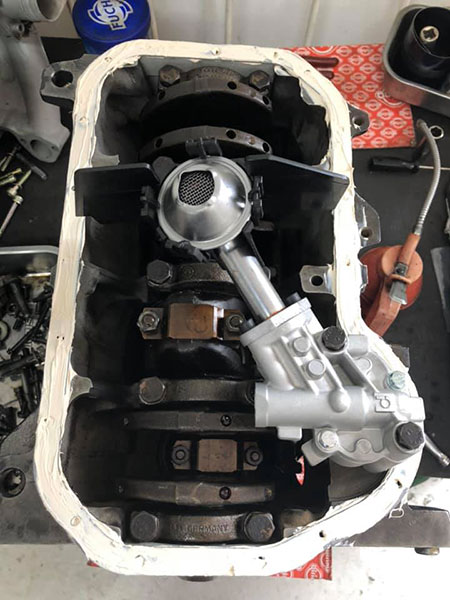
While the body was being repaired we also set about stripping down the 1.8 DX engine and completely rebuilding it with all new parts. All of the hardware, nuts bolts brackets were delivered to the refinishers for electroplating, into the OEM zinc and colour. The block was fully cleaned externally, to remove the years of encrusted rust and then given two coats of satin black block paint. Rebored with oversize pistons, reground crank with oversize shell bearings, new intermediate shaft bearings, new oil pump and all new gaskets. The cylinder head was stripped and blast cleaned. The head was then rebuilt with all new valve guides, valve seats re-cut and the valves lapped in to give a good seal. Again, all new valve stem seals and gaskets used in this process. The head and block were brought together, with fresh head bolts and tightened to the prescribed torque.
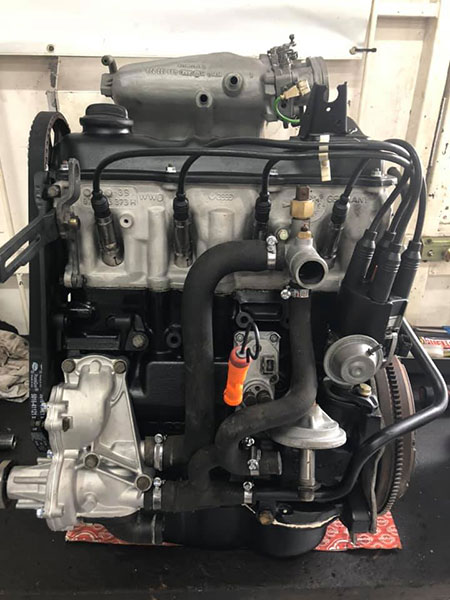
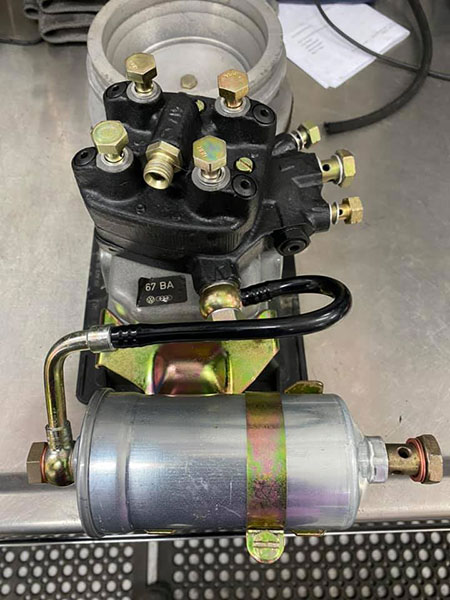
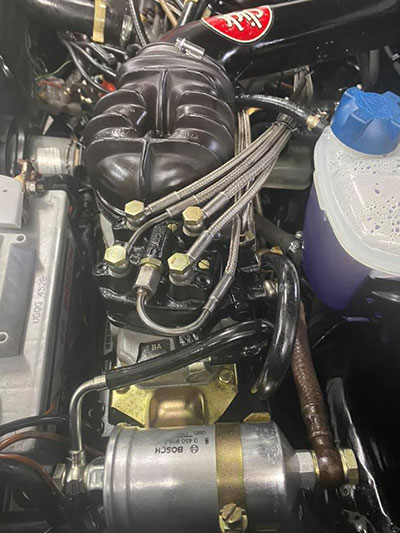
All of the engine ancillary parts were blast cleaned and either clear coated or primed and painted, before being re-united with the engine assembly. The fuel injection warm up regulator and metering head were sent away to be totally rebuilt by K Jetronic injection specialist, who machine all new internal parts and return these critical parts, back to as new functioning condition. Meanwhile, at JMR we restored all the many other parts of the fuel injection and ignition system.
The gearbox was inspected and parts replaced as required. The casing was cleaned carefully so as to retain the all important patina, which the owner wanted retained. With a new clutch assembly and clutch release bearing installed, the gearbox was refitted to the engine. New gearbox mounting bush was pressed into the bracket mount. The remaining re-furbished parts were fitted, to complete the engine / gearbox assembly, ready to be refitted into the restored bay.

Part 3
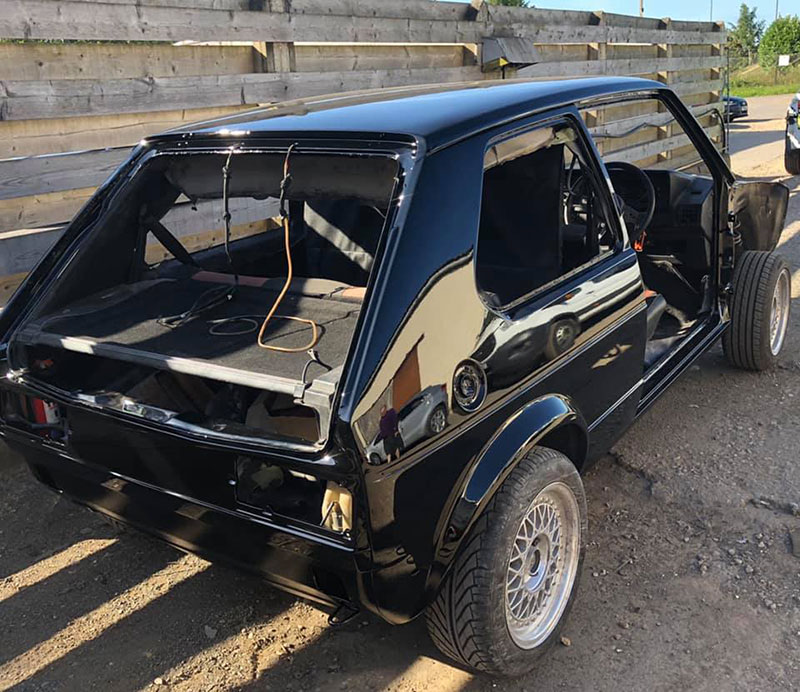
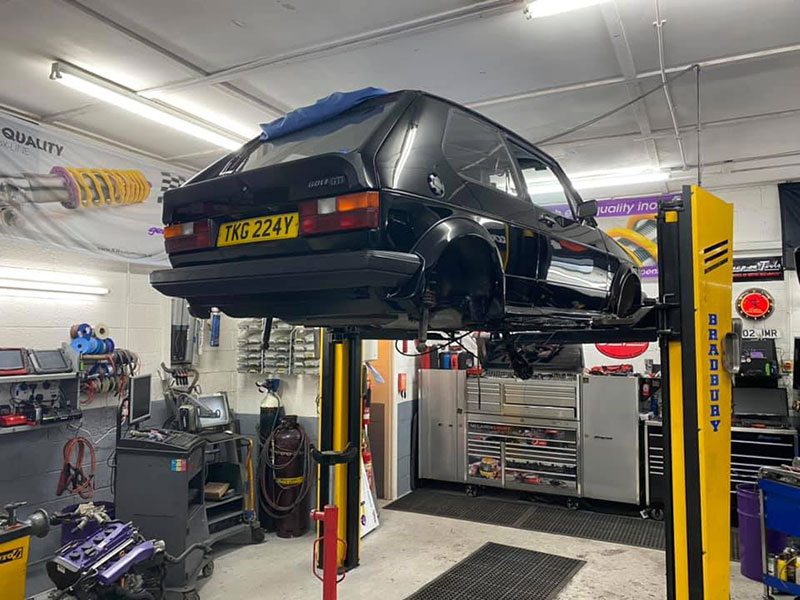
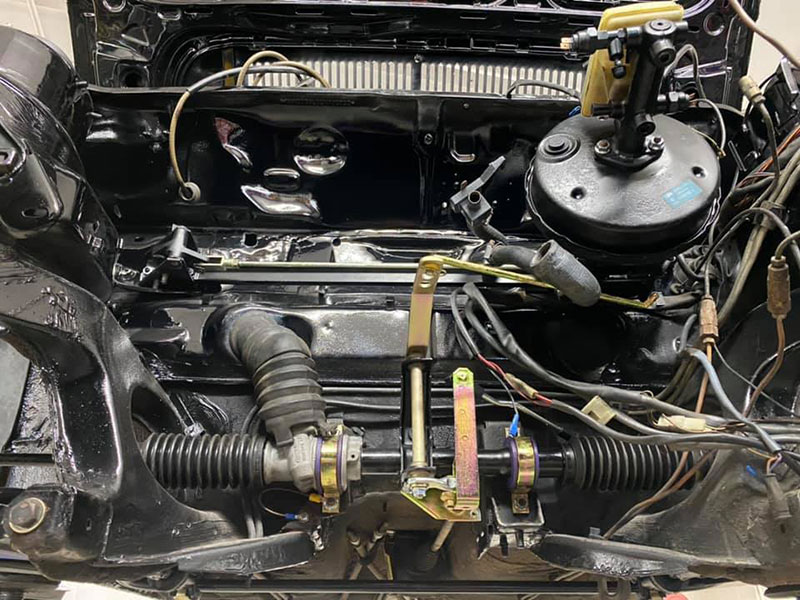
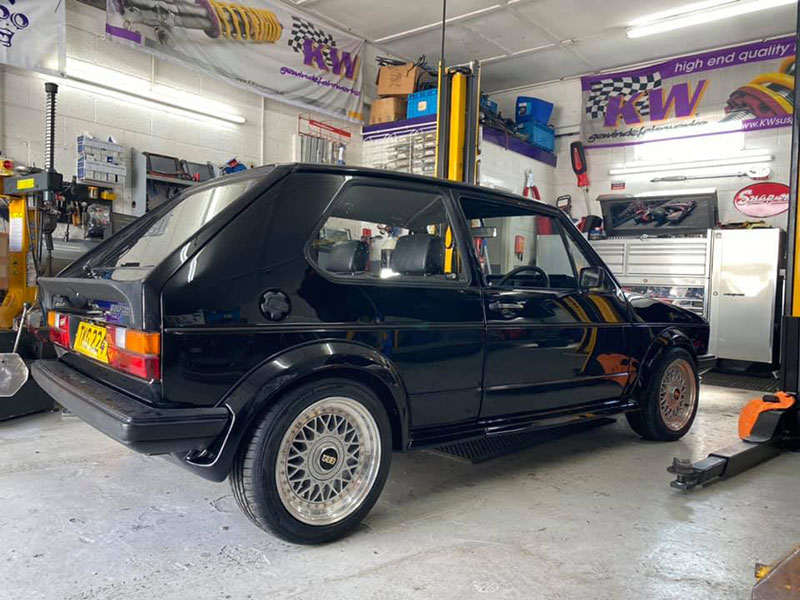
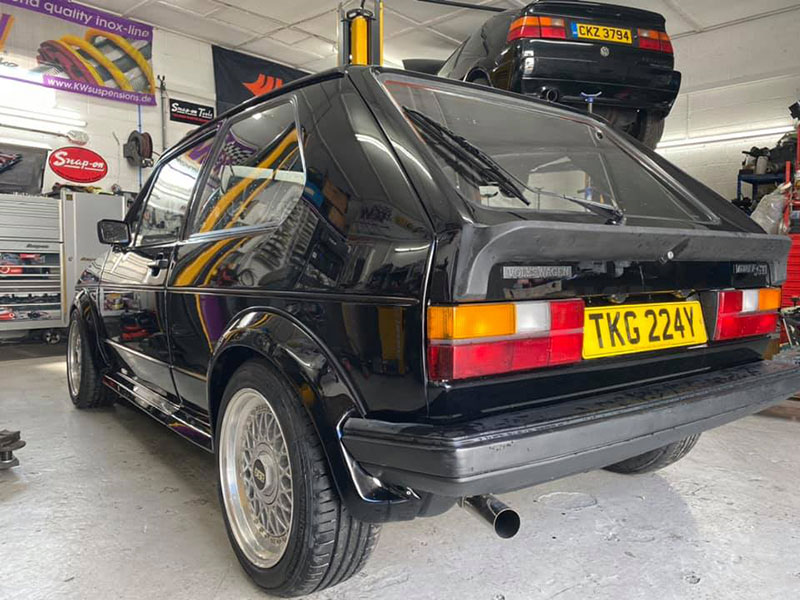
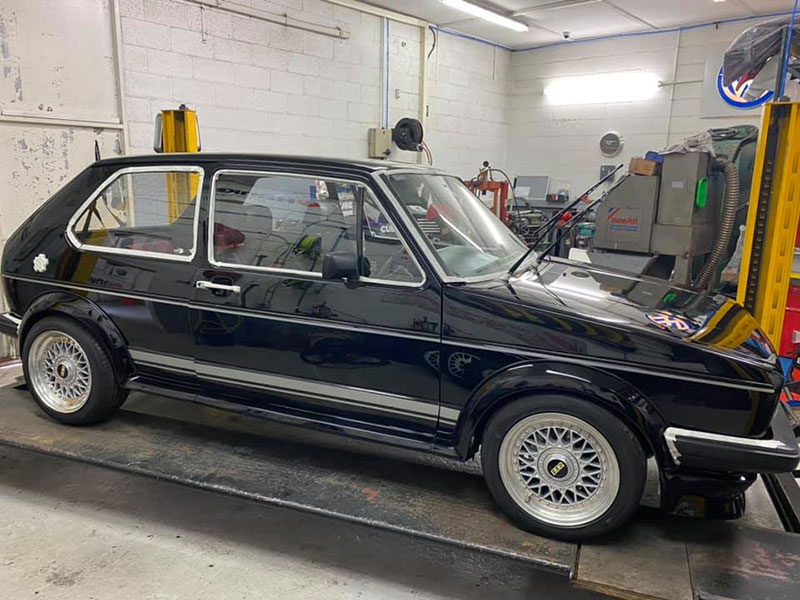
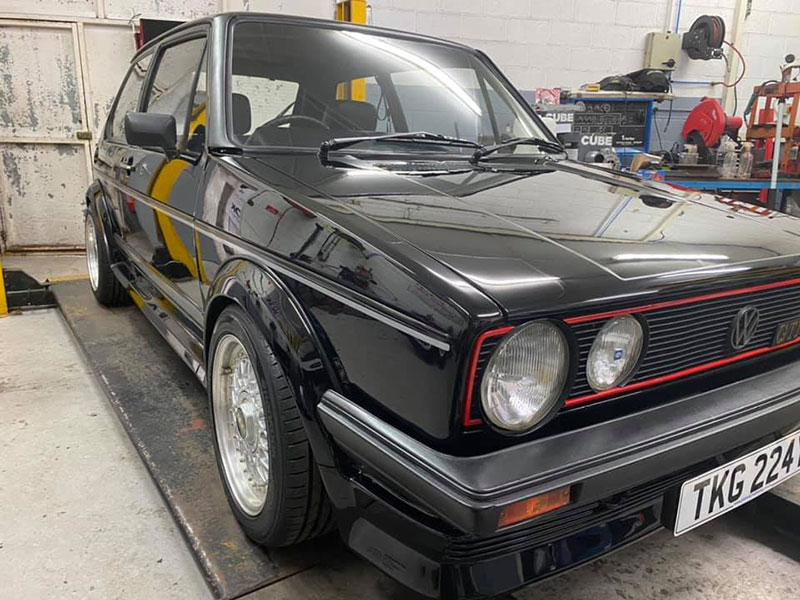
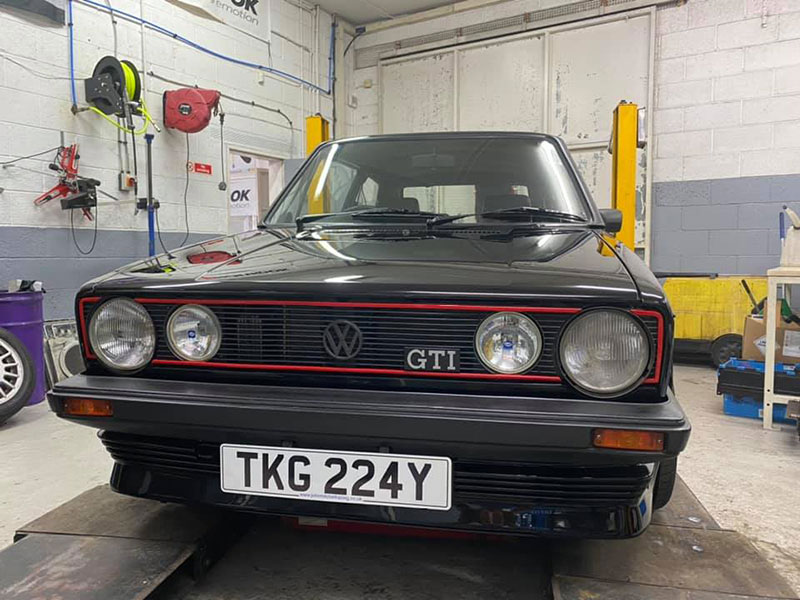
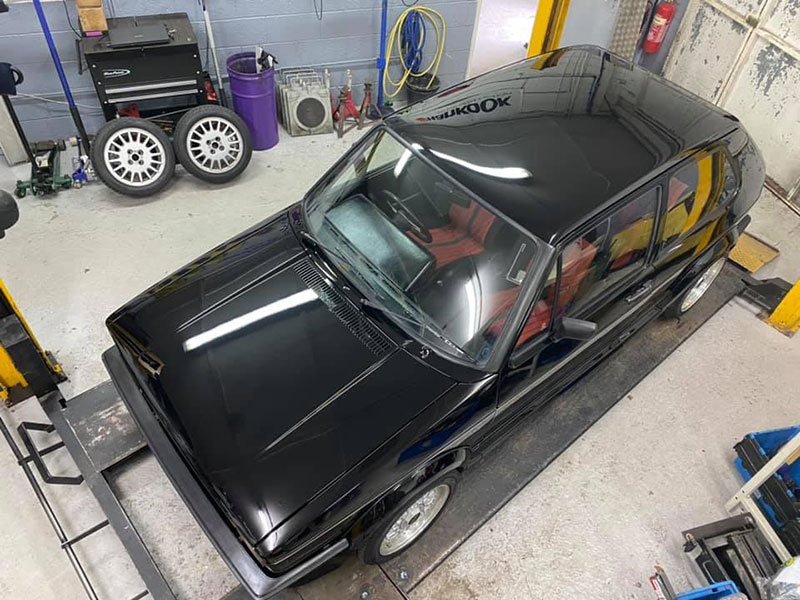
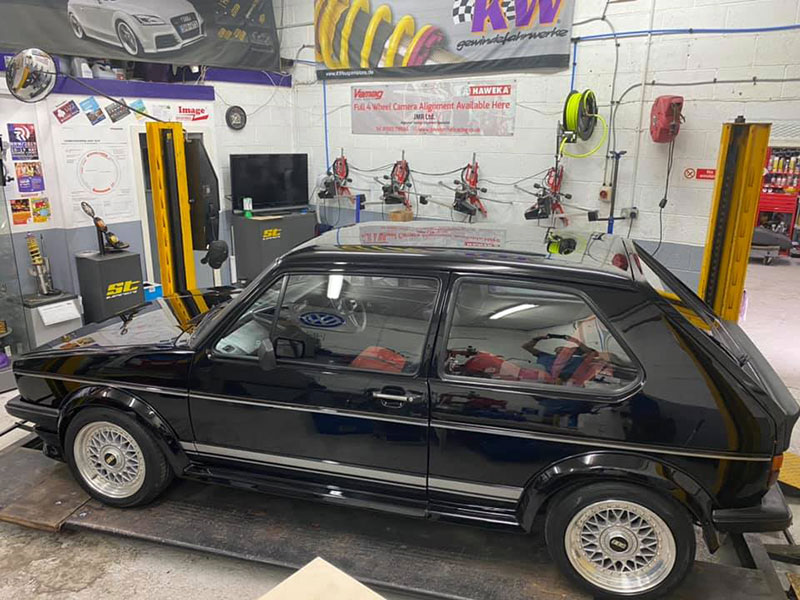
The GTi is now returned to our workshops, from the bodyshop. The chassis imperfections have been repaired, new panels fitted, a fresh coat of black paint and that iconic BBS body kit fitting period perfect.
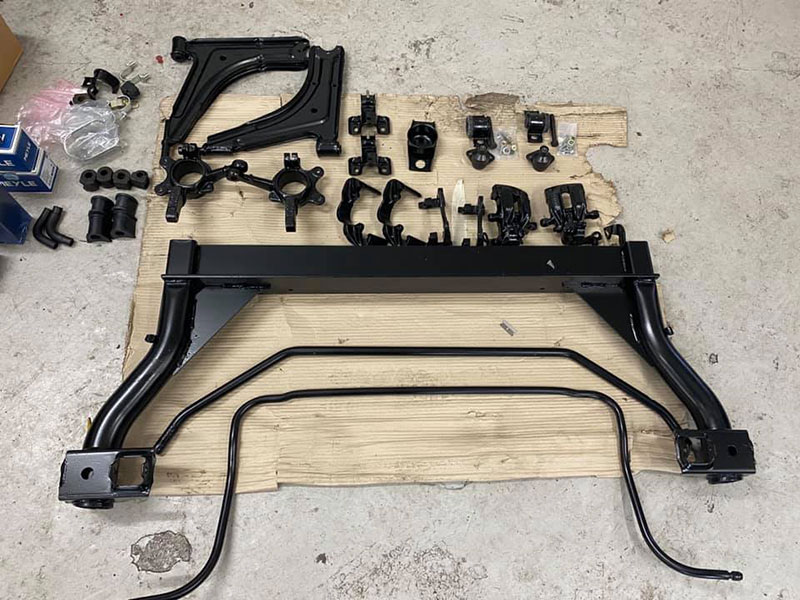
With the Golf on our ramp we stripped out the entire running gear and other components from the underside. These were then stripped down to base component level and sorted, as to what ongoing restorative process they required. Parts were then delivered to the re-finishers for shot blasting and powder coating. The nuts, bolts, brackets etc were taken to the electro platers for refinishing into OEM zinc and colour. Parts that were at end of service life, were replaced with new, but powder coated too, giving them the same protection.
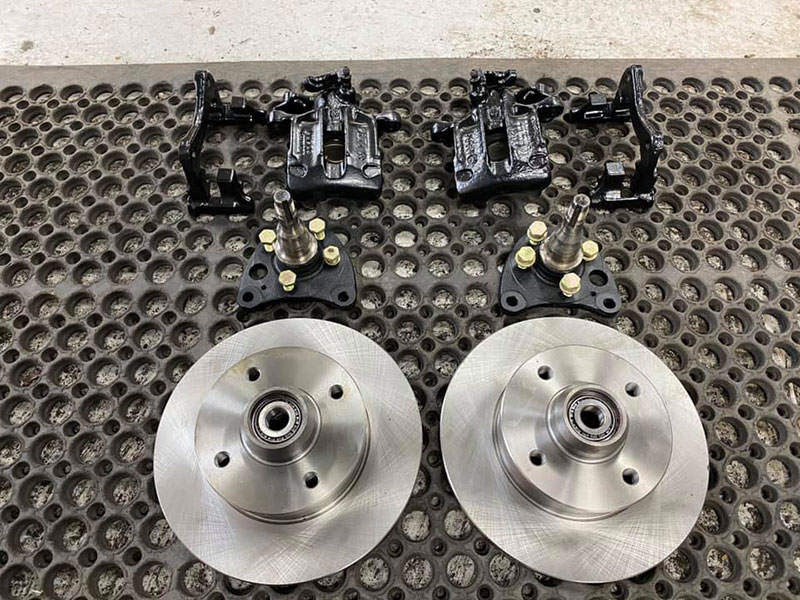
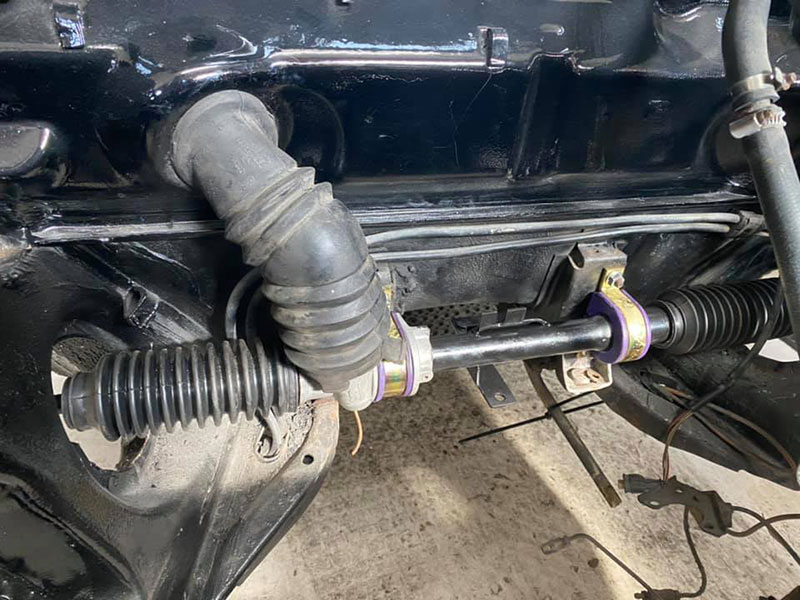
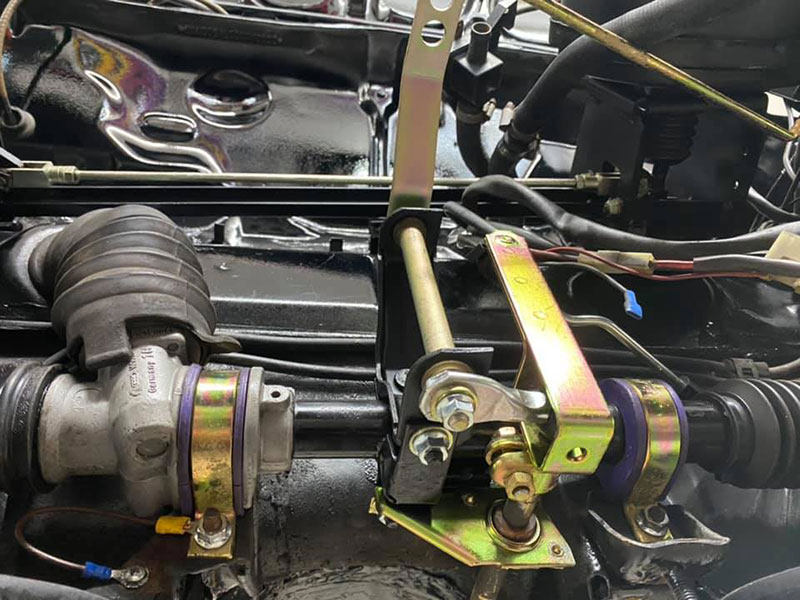
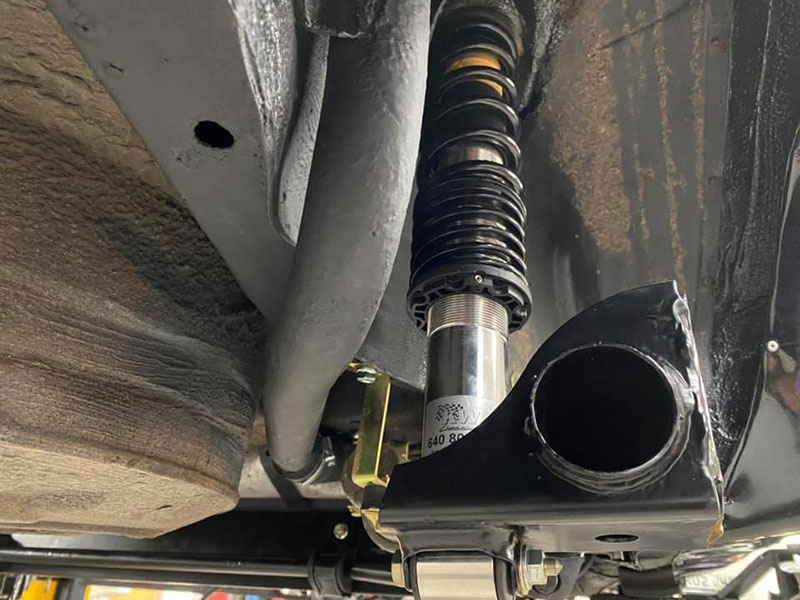
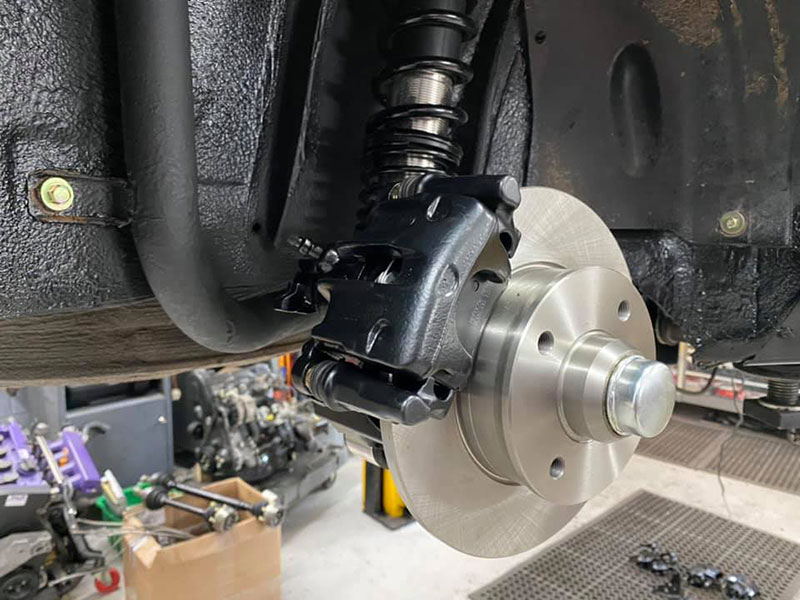
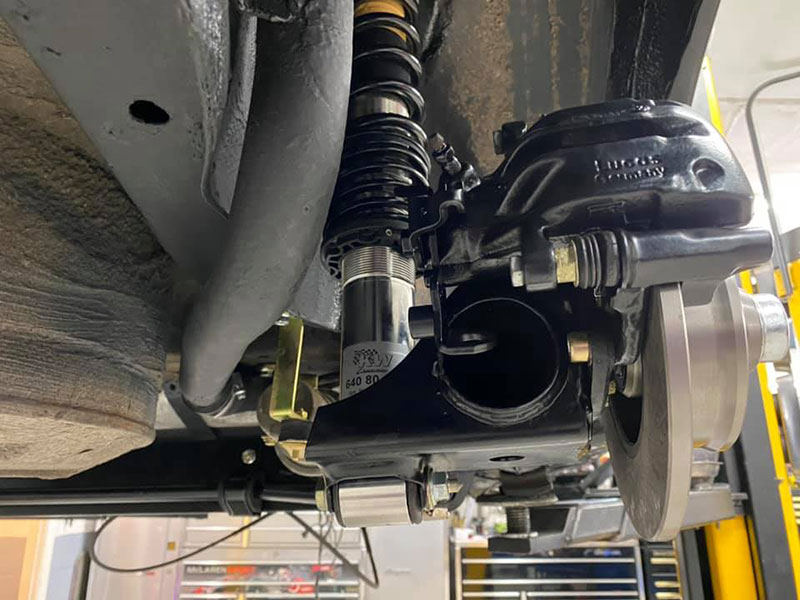
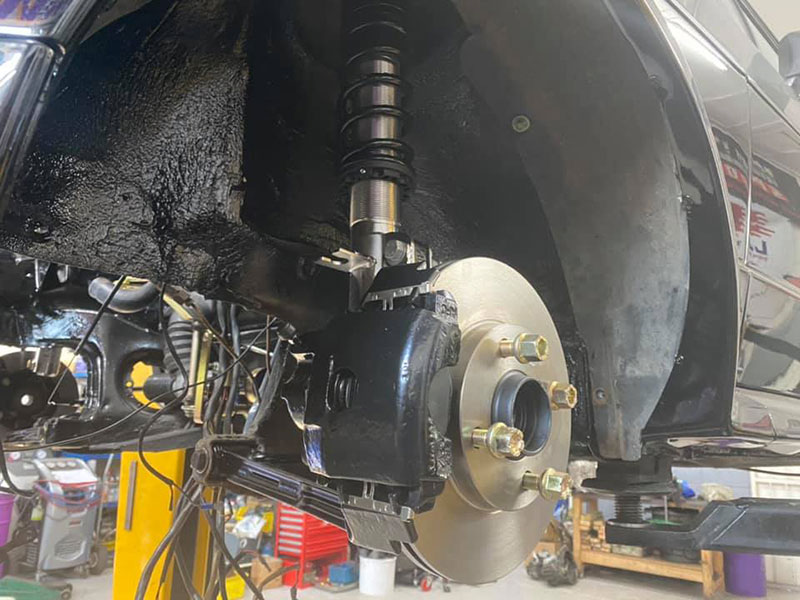
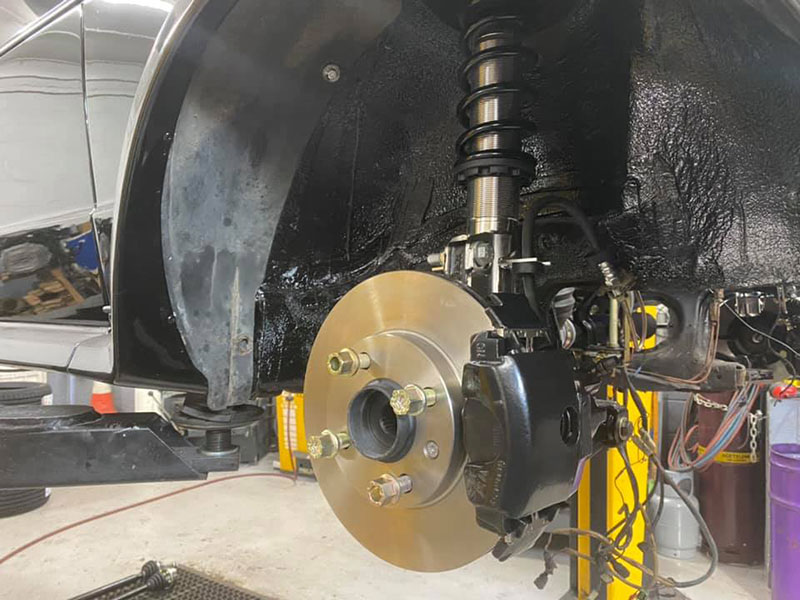
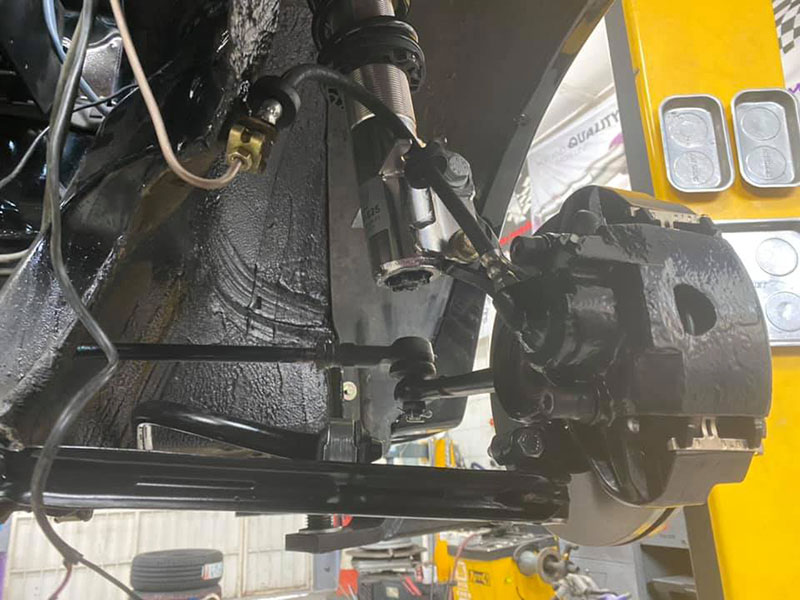
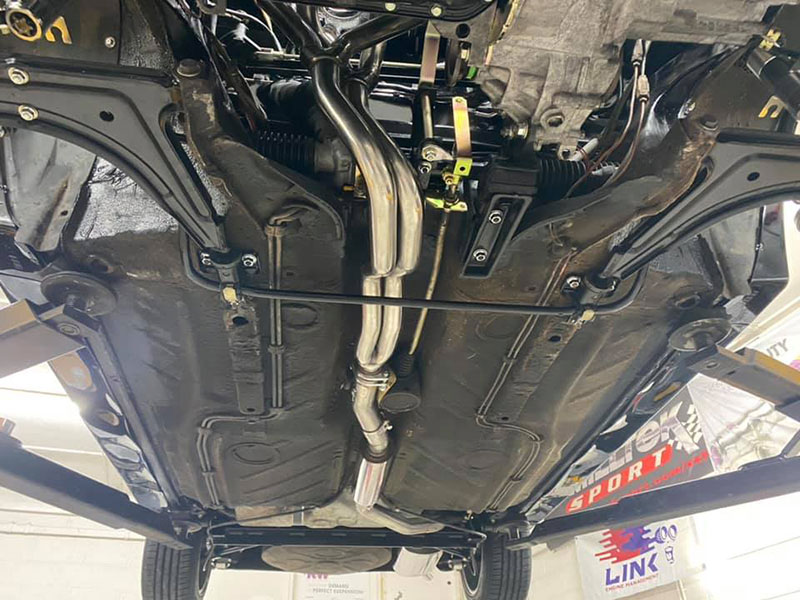
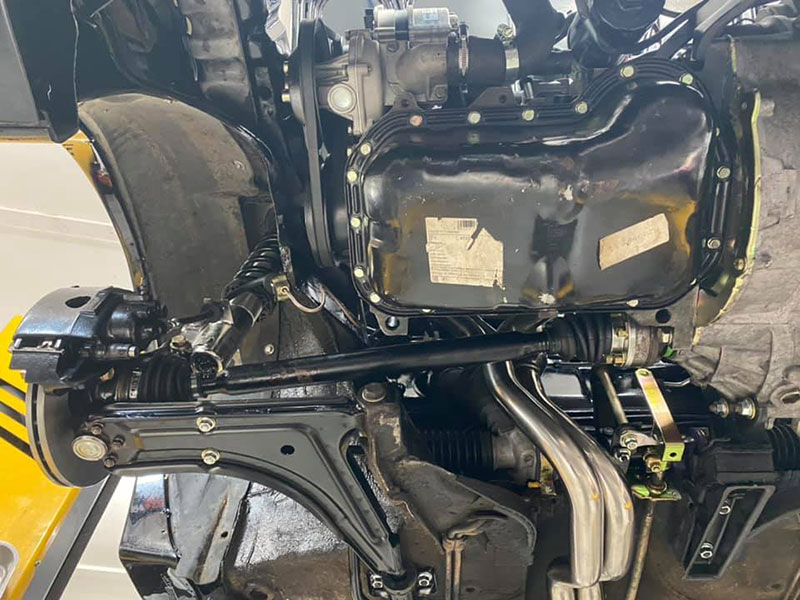
With all the parts refinished and reassembled with new bushes, the reassembly could start in earnest. First to be fitted was the KW Classic Variant 3 coilover suspension kit, to include new top mounts. The fuel tank was refitted with all new hoses and powder coated tank straps. The fuel accumulator bracket, now re-plated, was fitted with all new anti-vibration bushes and re-installed. Next up was the rear torsion beam. The residual powder coat cleaned from the stub axle threads with a tap cutter, before re-installing the stub axles and rear brakes. These had been upgraded in the Golf’s past and so you will see it now has rear discs, not drums fitted. The front steering rack, freshly rebuilt as too was the gear shift mechanism, were fitted to the chassis, followed by the front suspension arms and braking assemblies. All new Kunifer brake pipes were fabricated in house and fitted and just as soon as the rebuilt brake servo system was bolted to the bulkhead, the brake system was flushed and bled out with fresh fluid and pressure tested.
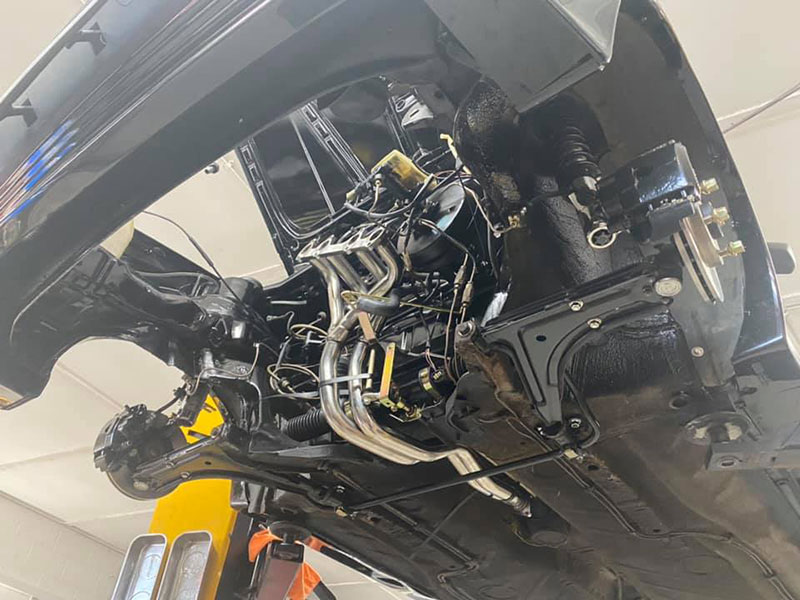
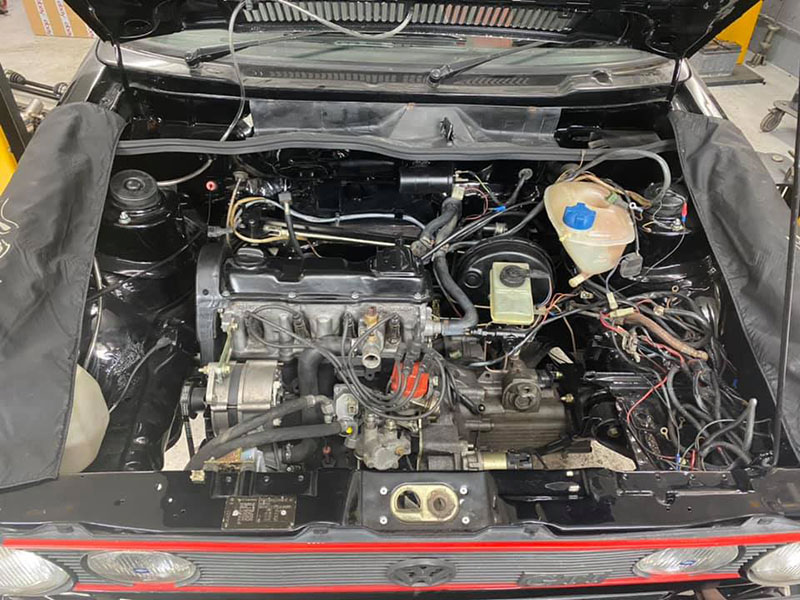
The engine and gearbox were next. This was a tricky mission for me, with Ben away furloughed, this took a little longer to do, to ensure no damage to the freshly painted bay. Having fitted one or two of these engines before, things went well and soon the rebuilt engine and gearbox were back where they belonged. The engine was refitted with all the supporting parts and connections were made to the wiring, fuel, clutch etc.
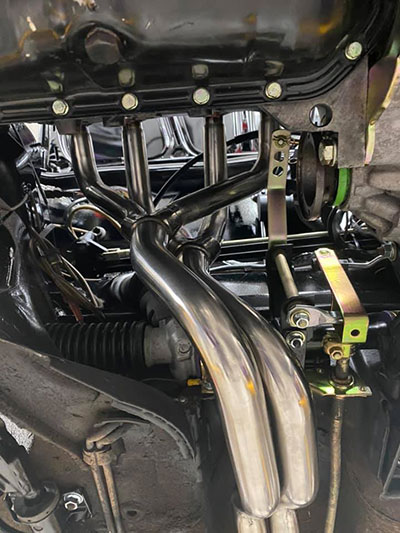
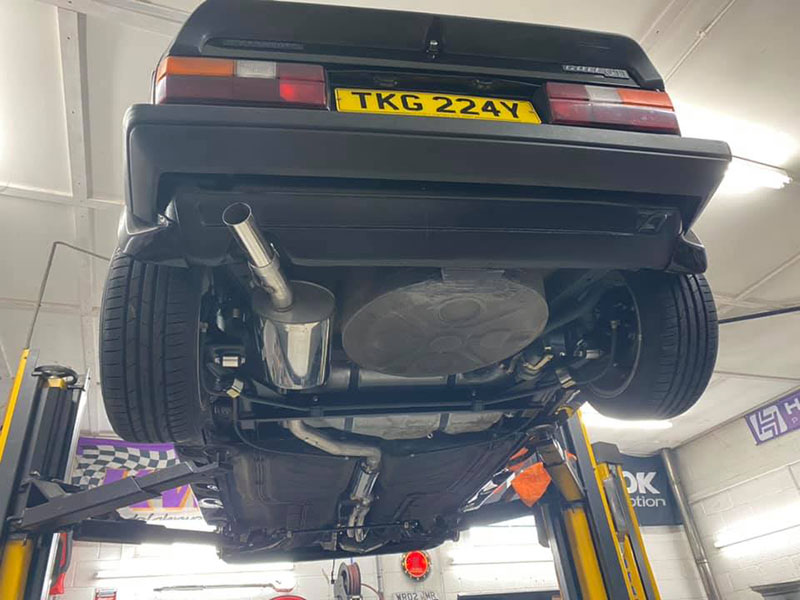
The entire exhaust had been discarded, as it was a “bitser” and corroded. This was replaced with a four branch tubular manifold and a Milltek Classic system. In order for the manifold and system to marry up satisfactorily, I had to fabricate a link pipe and this needed to be formed around the base of the gearshift. With the system in place all, supported by all new rubbers, clamps were secured and the exhaust fitted like a glove.
The BBS wheels were not re-finished, this again was done to keep that all important patina. However, the tyres were ancient and perished. A fresh set of Hankook tyres were fitted, before re-fitting the wheels, which allowed the GTi to sit once more on the deck.
Fresh fill of 10W40, G13 coolant and synthetic gear oil to replenish the essential fluids, a final check over, before priming the new engine with oil prior to start up. The engine burst into life on the first twist of the key and followed to run smoothly, a little rich, a little too fast, but impressively smooth. The engine was allowed to warm through, before adjustments were made to dynamic timing, idle speed and CO % exhaust emissions. All went as clockwork and the engine note and speed changed accordingly with the adjustments, to meet nicely with required tolerance.
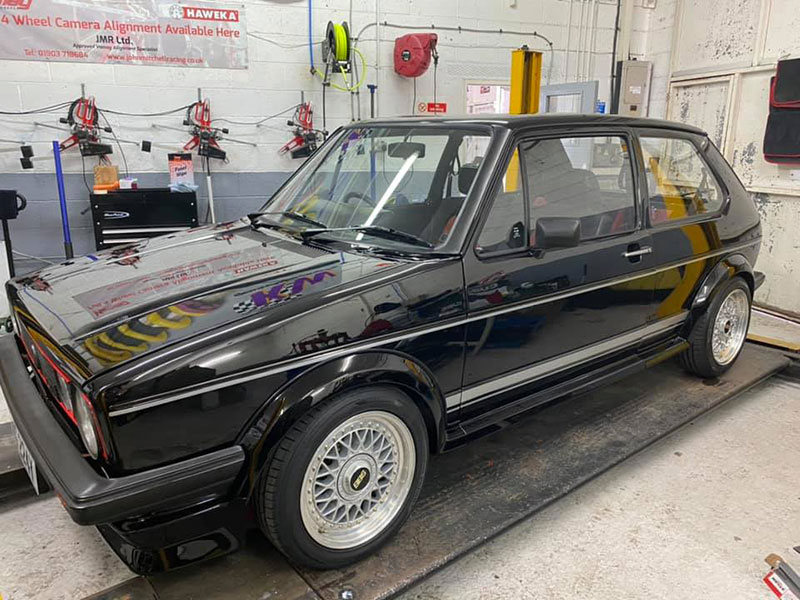
The wheel alignment was checked and adjustments made to front camber and toe settings. We were now ready for MOT, before final road testing coukd take place.
Our final stages of prep had one last important install to be completed and this was to replace the faulty TOAD alarm system with an all new Clifford alarm / immobiliser. My good friend Jez, of Highdown Car Audio, was given a call and the new security system was fitted to perfection, to include many harness repairs made necessary by the previous installations.
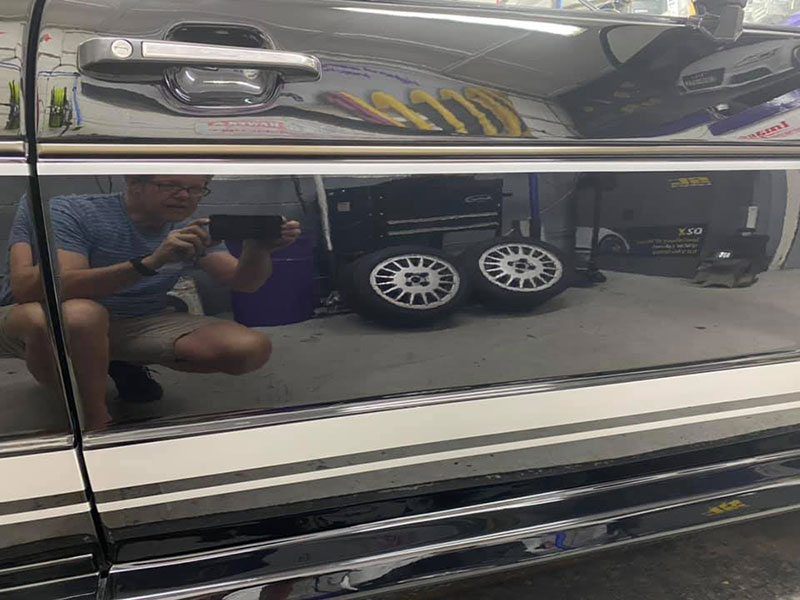
Collection day was fast approaching and we wanted this rare, limited edition GTi to look its best for it’s owner, who had requested we carry out a ceramic coating service to the paintwork. Three days of valeting and paint prep followed, with the help of my detailing friend Ian Stott. The end result was stunning and i think we had every right to be pleased with the result. Thank you Ian your help during these difficult COVID times, it was much appreciated.
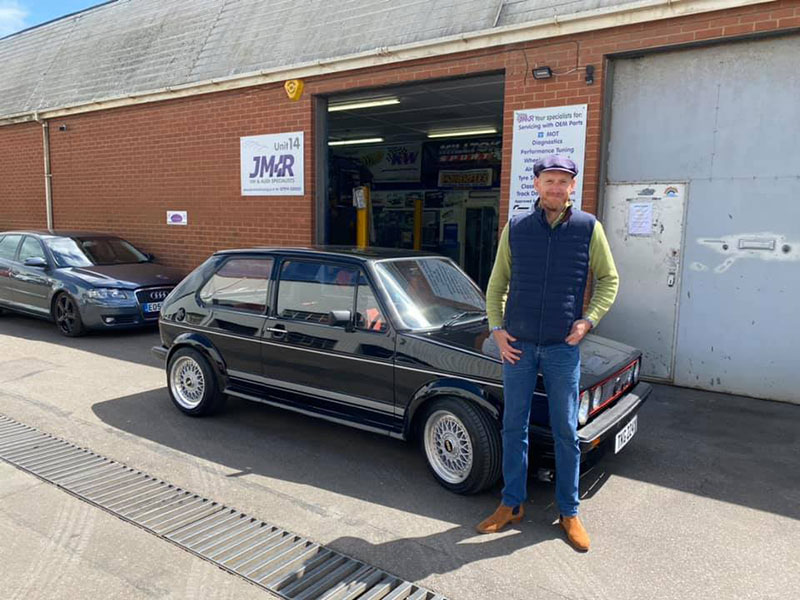
Delivery back to Charlie, the owner, was a complete pleasure. He was delighted to have his GTi back, the fresh new look but still with that all important patina, keeping it real. Charlie drove away, happy to be re-united with his GTi, leaving us with his equally beautiful B5 RS4 Avant for a little JMR attention.
Workshop - 01903 718684
Mobile (Working hours only) - 07974 020031
Hours of Business:
Monday - Friday: 08:00 - 17:00
Saturday - Sunday: Closed
JMR Ltd (John Mitchell Racing), Units 14 & 15, Arunside Business Park,
Fort Road, Littlehampton, West Sussex, BN17 7QU
We recommend that you approach our premises from the A259. Enter into Lineside Industrial Estate at the new traffic light junction with Eldon Way, and follow signs for Fort Road. You will be directed by signs down Arndale Road past the Builder Centre, through an “S” bend and onward to a “T” junction. At the “T” Junction turn right onto Fort Road keep going straight down until you reach a large yellow security gate. This is Arunside Business park in which we are located. There is a site map at the entrance above the yellow gate, but the site is very small and a single one way road will take you directly to our premises.